
Peas: The Ingredient Edit

Now is the perfect time of year to get started in your vegetable garden, with Spring in the air one of the first crops to start sowing is the Garden Pea – Pisum sativum. Peas come from the plant family called ‘legumes’, this family is very widespread and is found all over the world. We have been cultivating this garden favourite for thousands of years and peas have been found in archaeological sites that have been dated to 4500BC in Egypt and Greece, but the hybrids we use today are very different and are chosen for their speed of growth, sweetness of flavour and resistance to disease.
Thyme’s chefs not only love peas from the pod but use pea shoots as a salad leaf and a garnish, this requires a successional sowing every two weeks throughout the growing season. Peas are relatively easy to grow from seed, ensure the seed is fresh, always check the use by date on seed packets prior to purchase.
A good way to grow peas from seed is in a piece of old plastic guttering, fill the guttering to within one centimetre of the lip with seed sowing compost, generously scatter the peas onto the level soil and then cover to the lip with compost, water in well and place a brick either side of the guttering to keep it upright, as the seed germinate usually in around 10 days cut a piece of soil out of your vegetable plot and slide the seedlings out of the gutter directly into the prepared trench.
Sowing early this way provides some protection from mice – who love a freshly swelling pea seed; and sown closely together will ensure successful pollination. Later crops can be sown directly into the soil, firstly rake your seedbed to create a fine tilth on the soil surface, place a string line along your drill and using your spade as a width guide create your drill with your spade by dragging it towards you, the drill depth is about 1-2 cm deep. Sow your peas by scattering them over the surface of the wide drill and cover, water in well.
As peas need to scramble upwards using their tendrils to cling, they will need to be supported, hazel branches with their natural fan shape are a traditional solution, cut metre lengths during the winter and store until needed. After you have sown your peas place the branches either side of the drill and weave the branch tips together. As the peas climb up the branches you might need to tuck in any plants that have popped out from the supports or that have decided to grow along the ground. If you cannot get branches, then a piece of chicken wire placed centrally down the drill with bamboo canes woven between the mesh as uprights does the trick. Your peas should be ready between 12 - 15 weeks after sowing, be sure to irrigate well during prolonged dry or sunny weather.
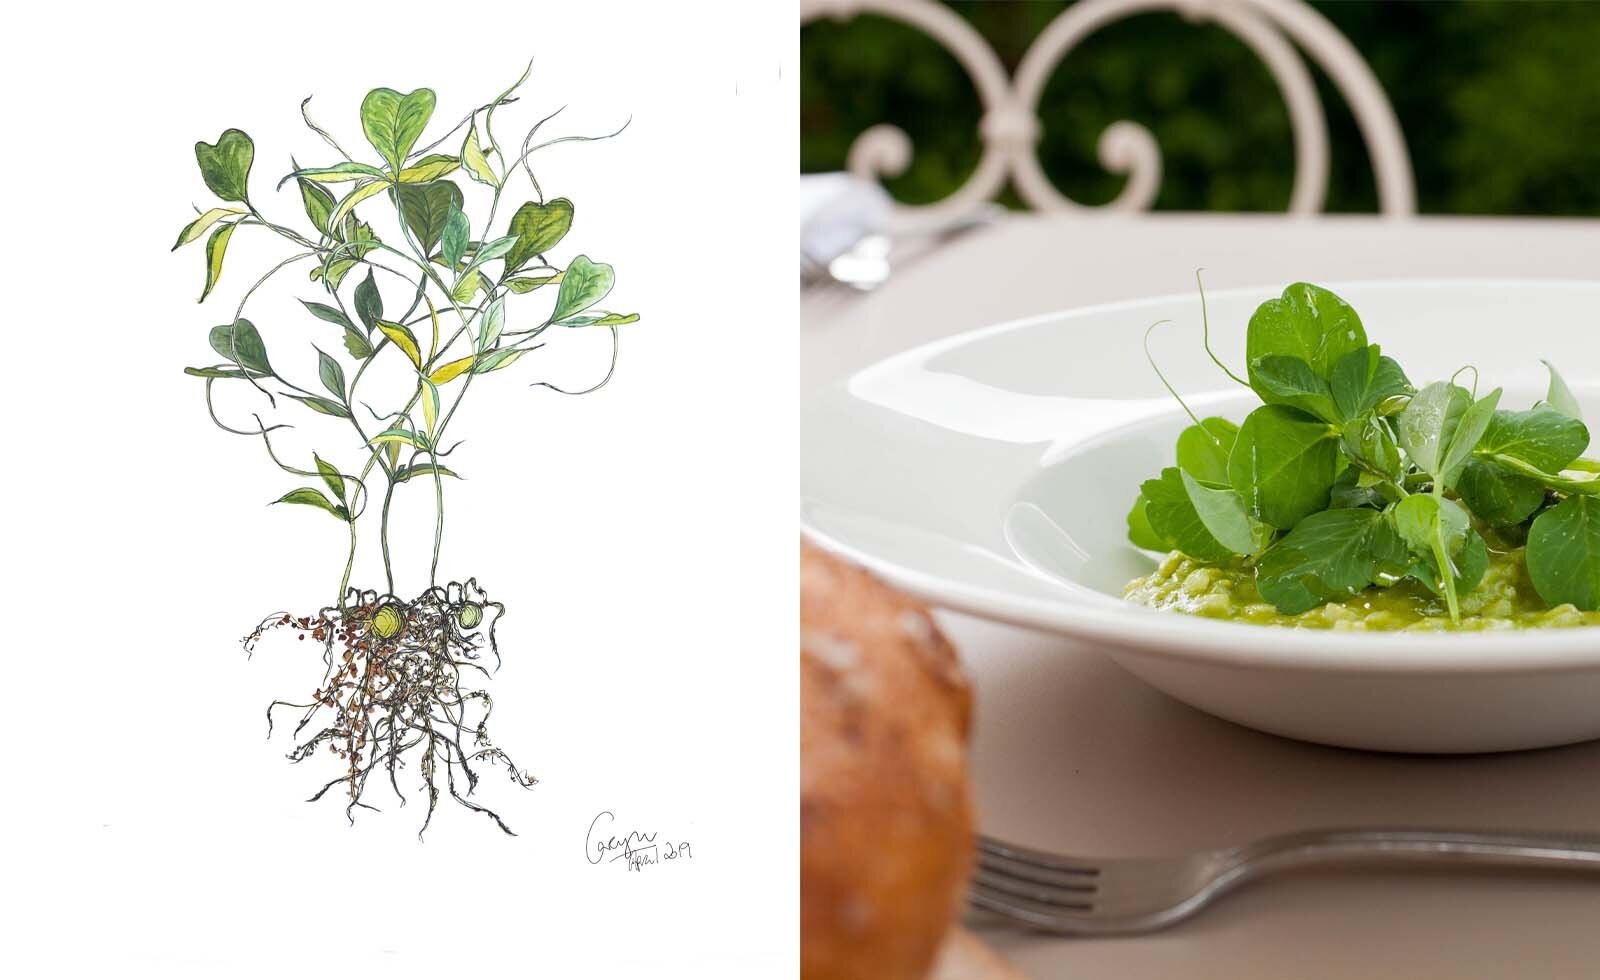
Peas also fix nitrogen into the soil using a bacteria that they have a symbiotic relationship with called Rhizobia, this bacteria chemically converts nitrogen from the air and stores it in root nodules that grow on the peas root system, planting peas means that you do not have to enrich the soil with fertilizers. After harvest, leave the root system of the pea in place for a short while, allowing this fixed nitrogen to release back into the soil.
The reward for your efforts are lovely sweet juicy peas and I know myself that nothing tastes as good as fresh peas taken from the plant and eaten raw. A great reward from a garden favourite which is so easy to grow.
Try The Swan's 'Pea Shoot, Asparagus, Egg & Coppa Salad' Recipe